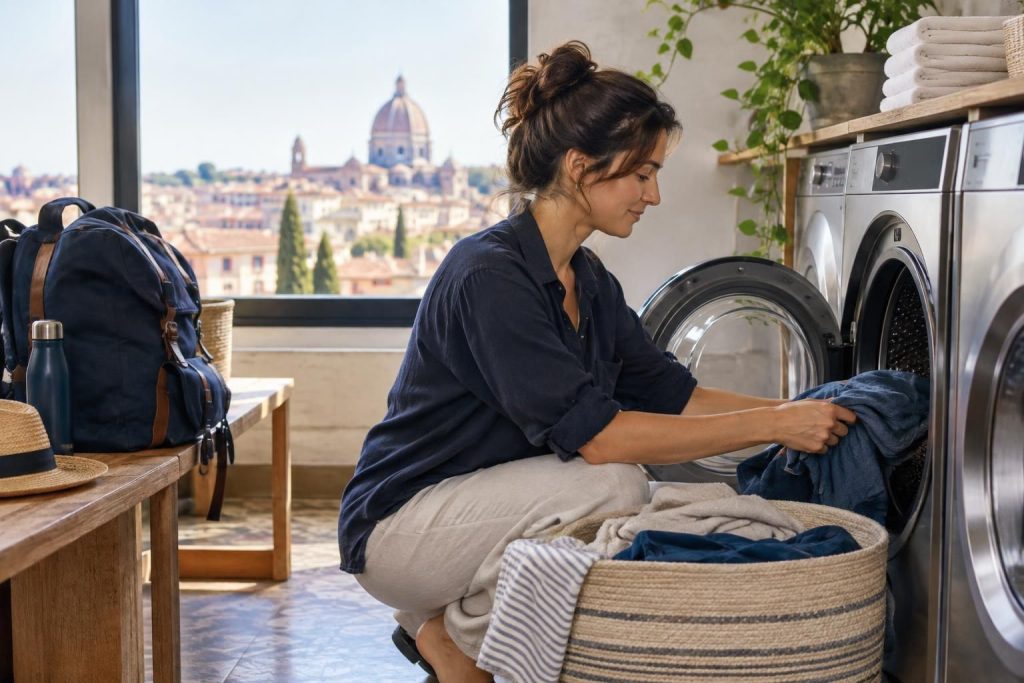
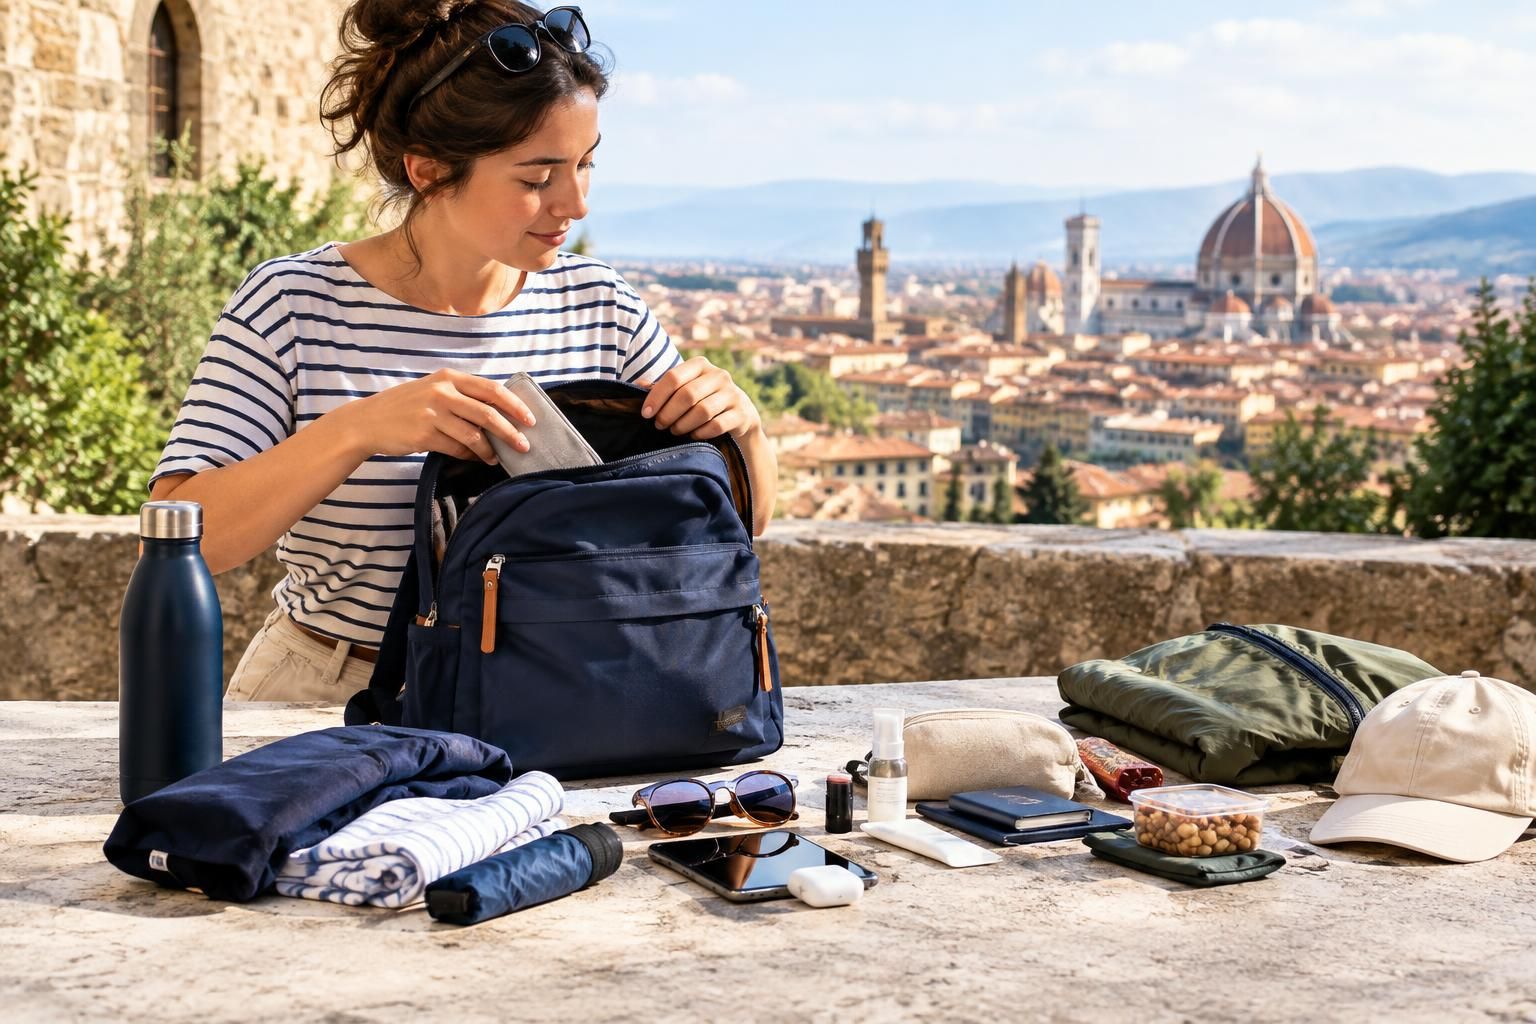
A sightseeing bag can quietly become the heaviest part of a holiday. A spare layer, water bottle, guidebook, camera and several just-in-case items may each seem reasonable, yet together they make every staircase and café stop more awkward. Packing lighter does not mean going without useful things. It means matching what you carry to the day ahead, understanding where you can replenish supplies and separating genuine essentials from items that merely feel reassuring. Start with the outing rather than the bag, and you can build a compact kit that works for the way you actually explore.
1. Pack for the time between useful stops
Think about how long you will be away from your accommodation and what lies between departure and return. A morning in a central neighborhood with frequent cafés calls for a different load from an all-day visit to an archaeological site. Consider access to food, drinking water, sheltered places and opportunities to sit down rather than packing for an abstract full day.
Write a one-sentence outline: walk to a gallery, eat lunch nearby, browse shops, then return by public transport. Use that outline to challenge each item. If you expect to return before dinner, you probably do not need everything required for an evening out. If returning would involve a lengthy journey, carrying an extra layer may earn its place.
2. Choose the bag after choosing the contents
Lay out your likely contents before deciding which bag to use. A small crossbody bag may suit a short urban outing with few extras, while a compact backpack can distribute a water bottle and clothing more comfortably. A lightweight tote can be useful for a beach visit, but an open top and one-shoulder carry may be inconvenient in crowded places or on long walks.
Check how the loaded bag feels, not just how it looks empty. Walk around, sit down and retrieve your phone without unpacking everything. Look for comfortable straps, closures you can manage easily and enough space to avoid cramming. Before an attraction-focused day, check the venue's current bag policy rather than assuming your usual bag will be accepted.
3. Build a small core kit
Your core kit should cover the things you use repeatedly: your chosen payment methods, whatever identification the outing requires, a phone, access to relevant tickets and your accommodation key. Add personal necessities you already rely on. Keep this group consistent so that preparing for the day becomes a quick check rather than a fresh packing exercise.
Then add only the support items your habits justify. A charging bank makes more sense if you use your phone heavily for navigation and photography; it is less compelling for a brief outing with a well-charged phone. Tissues, a compact reusable shopping bag or a small notebook may be useful, but each should solve a likely problem. Avoid carrying duplicate versions of the same function without a clear reason.
4. Let weather and activities determine the extras
Use the expected conditions and your route to choose weather protection. A packable rain layer may be more practical than an umbrella when you want both hands free, while an umbrella may suit a short city outing. Carrying both should be a deliberate decision, not a default. Likewise, one versatile layer is often more useful than several pieces packed for slightly different possibilities.
Add a small activity-specific set rather than leaving every possible extra in the bag throughout your trip. A beach afternoon might call for a towel and a separate pouch for damp belongings. A photography walk might justify a camera but not every lens. For museums and galleries, trimming bulky extras can make cloakroom use and movement through exhibition spaces less cumbersome.
5. Control the weight of water, food and shared items
Water and snacks can account for a substantial share of a day bag's weight. Plan around the outing's length, conditions and realistic opportunities to replenish supplies. Do not assume that a fountain, café or shop will be available exactly when needed. Equally, avoid carrying a full picnic for a morning built around a planned lunch stop unless that flexibility matters to you.
When traveling with others, agree which nonessential items can be shared. One person might carry a picnic cloth while another carries the food. Avoid duplicating bulky items simply because nobody discussed them, and distribute weight according to comfort rather than dividing everything equally. Keep individual necessities with the person who needs them, especially if you may split up.
6. Organize for easy access, then reset each evening
Give frequently used items predictable places. Keep tickets and a payment method accessible without exposing the entire contents of your bag. Separate liquids from electronics and paper, and place heavier objects close to your body where the bag's design allows. One or two small pouches can reduce rummaging; too many organizers add weight and create more places to search.
Empty the bag when you return. Remove receipts, leftover snacks, unused layers and anything acquired during the day. Notice what you actually used, but do not discard a necessary item merely because it went untouched once. Adjust for tomorrow's route, recharge devices as needed and leave some spare room rather than beginning each morning with an already overfilled bag.
A well-packed sightseeing bag is specific to the day, not equipped for every imaginable situation. Keep a reliable core, add extras that match your route and activities, and reconsider anything heavy or duplicated. The aim is not the smallest possible bag: it is a comfortable load that lets you enjoy the outing without repeatedly wishing you had brought less.
AI-assisted evergreen travel guide. Featured image is an AI-generated illustration, not a specific product or booking.